In today’s digital age, having access to a high-quality recording space has become more important than ever before. Whether you’re a voice-over artist or a musician, having a professional-grade recording setup can make all the difference when it comes to producing high-quality content. With the increasing popularity of home recording studios, it’s now easier than ever to create a recording space that meets your specific needs and preferences.
In this article, we will explore everything you need to know about setting up a home recording studio. From the essential equipment and tools you need to get started, to tips for acoustically treating your space for optimal sound quality, we’ll cover it all. Whether you’re just starting out or looking to upgrade your existing setup, this article has everything you need to create a home recording studio that will help take your creative projects to the next level.
Table of Contents
ToggleWhat You Need to Set Up a Recording Studio at Home
Setting up a recording studio at home requires a few key pieces of equipment to get started. Here are ten essential items that you will need to get started:
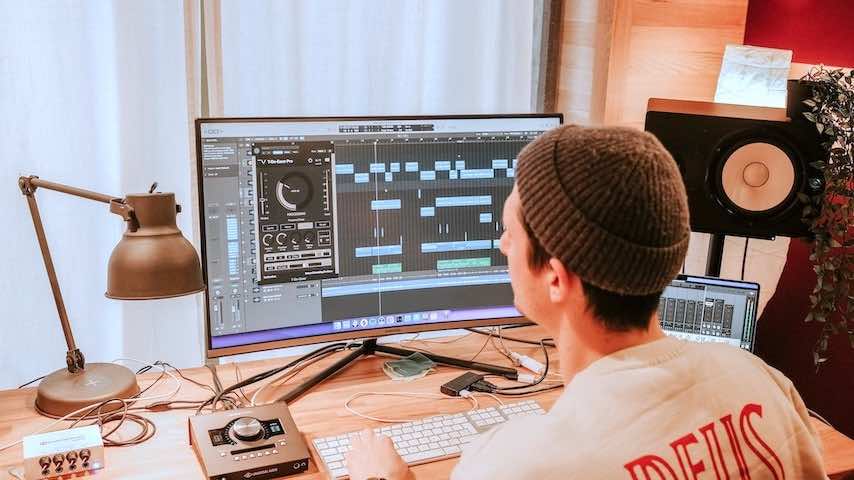
- Computer: Your computer is the backbone of your home recording studio. Choose a computer that is capable of handling your recording needs and has the necessary processing power.
- Audio Interface: An audio interface is a device that connects your computer to your recording equipment, such as microphones and instruments. Choose an audio interface that has the necessary inputs and outputs for your recording needs.
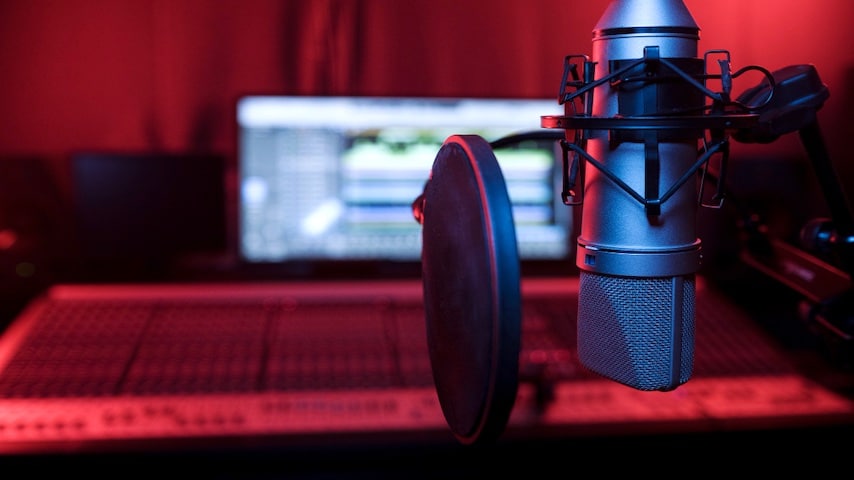
- Microphones: Microphones are essential for capturing sound in your home recording studio. Choose microphones that are designed for your specific recording needs, such as voice-over, singing, or instruments.
- Headphones: Quality headphones are essential for monitoring your recordings and ensuring that you are capturing accurate sound.
- Recording Software: Recording software is necessary for capturing and editing your recordings. Choose a software that is capable of handling your recording needs and has the necessary features for mixing and editing.
- Studio Monitors: Studio monitors are specialized speakers that are designed to accurately reproduce the sound of your recordings. Choose studio monitors that are capable of accurately reproducing the sound of your recordings.
- Cables: High-quality cables are necessary for connecting your equipment and ensuring that you are capturing accurate sound.
- Mic Stands: Mic stands are necessary for holding your microphones in place and ensuring that they are properly positioned for recording.
- Pop Filter: A pop filter is a device that helps to minimize popping sounds that can occur when recording vocals.
- Acoustic Treatment: Acoustic treatment is necessary for minimizing reflections and reverberation in your recording space. Choose acoustic treatment materials such as acoustic panels, foam, or blankets to help create a recording environment with minimal ambient noise.
By investing in these essential pieces of equipment, you will be well on your way to setting up a home recording studio that can produce high-quality recordings. Each item is important in contributing to the overall sound quality and performance of your studio setup.
How to Set Up a Small Recording Studio at Home
Setting up a small recording studio at home is an excellent way to create a professional-grade recording space without breaking the bank. Here are the steps to follow:
- Choose the Right Room: When choosing a room for your home recording studio, look for a space that is quiet, free of echoes, and away from external noise. A room with minimal ambient noise and minimal reverberation will produce the best results.
- Acoustically Treat the Room: Acoustically treating your recording space is essential to achieving high-quality sound. This can be done by adding sound-absorbing materials such as acoustic panels, foam, or blankets to the walls, floor, and ceiling. This will help to minimize reflections and reverberation in the room.
- Set Up Your Equipment: Once you have chosen and acoustically treated your room, it’s time to set up your equipment. Begin by placing your computer and audio interface in a convenient location, such as a desk or table. Connect your microphones and instruments to the audio interface, and then connect your studio monitors to the audio interface.
- Configure Your Recording Software: Configure your recording software to your desired settings, including sample rate, bit depth, and input/output settings.
- Test and Adjust: Once your equipment is set up, test and adjust your settings to ensure that everything is working properly. Make sure to test your microphones and instruments to ensure that you are capturing clear and accurate sound.
By following these steps, you can set up a small recording studio at home that is capable of producing high-quality recordings.
How Expensive is a Home Recording Studio?
Setting up a home recording studio can be a significant investment, but it doesn’t have to break the bank. Here is a breakdown of the costs associated with setting up a basic home recording studio:
- Computer: $500 – $2000
- Audio Interface: $100 – $1000
- Microphones: $50 – $1000
- Headphones: $50 – $300
- Recording Software: $0 – $1000
- Studio Monitors: $200 – $1000
- Cables: $50 – $200
Total Cost: $950 – $5500
Of course, the cost of setting up a home recording studio can vary widely depending on the equipment you choose and the level of quality you are aiming to achieve. However, there are ways to save money without sacrificing quality. For example, purchasing used or refurbished equipment can be a cost-effective way to build your home recording setup. Additionally, you can consider DIY solutions for acoustical treatment, such as building your own acoustic panels.
By being strategic with your equipment purchases and acoustical treatment, it is possible to set up a home recording studio that is both affordable and capable of producing high-quality recordings.
Can You Get Studio Quality Recording at Home?
There is a common misconception that home recording studios cannot produce professional-quality recordings. However, with advances in technology and equipment, it is now possible to achieve high-quality sound at home. Here’s how:
- Choose Quality Equipment: Invest in high-quality equipment such as microphones, audio interfaces, and studio monitors that are designed for recording and producing professional-quality sound.
- Acoustically Treat Your Space: As discussed earlier, acoustically treating your recording space is crucial to achieving high-quality sound. By minimizing reflections and reverberation in the room, you can capture clean and clear audio recordings.
- Proper Technique: Proper recording technique is essential for achieving professional-quality sound. This includes microphone placement, proper gain staging, and good mixing practices.
- Good Recording Practices: Good recording practices, such as keeping levels consistent and avoiding clipping, can help ensure that your recordings are clean and clear.
By incorporating these techniques and practices, it is entirely possible to achieve studio quality recordings at home.
Is It Better to Record at Home or Studio?
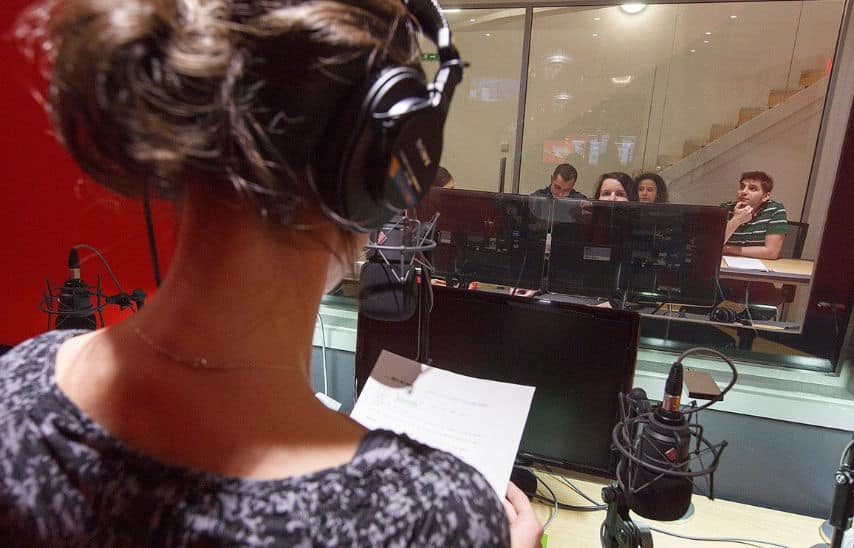
When it comes to recording, there are advantages and disadvantages to both recording at home and recording in a commercial studio. Here are some factors to consider:
- Cost: Recording at home can be more cost-effective, as you do not need to pay for studio time or an engineer. However, setting up a home recording studio can still be a significant investment in equipment and acoustical treatment.
- Convenience: Recording at home can be more convenient, as you can record on your own schedule without having to book studio time. However, recording in a commercial studio can provide access to specialized equipment and an experienced engineer.
- Sound Quality: Recording in a commercial studio can provide access to high-end equipment and acoustically treated rooms, resulting in better sound quality. However, with the right equipment and acoustical treatment, it is possible to achieve professional-quality sound at home.
Ultimately, the decision to record at home or in a commercial studio will depend on your specific needs and preferences. If you have the necessary equipment and acoustical treatment, recording at home can be a cost-effective and convenient option. However, if you require specialized equipment or are looking for a more professional environment, a commercial studio may be the better choice.
Pros and Cons of a Home Studio
Setting up a home recording studio has its advantages and disadvantages. Here are some factors to consider:
Advantages:
- Flexibility: With a home recording studio, you have complete control over your recording schedule and environment. You can record at any time, without having to worry about booking studio time.
- Control: Having a home recording studio means that you have complete control over the recording process, from equipment selection to acoustical treatment. This can result in recordings that meet your specific needs and preferences.
- Cost-Effective: As mentioned earlier, setting up a home recording studio can be a cost-effective alternative to booking time in a commercial studio.
Disadvantages:
- Sound Quality: Achieving high-quality sound in a home recording studio can be more challenging due to the limitations of the recording environment. Without proper acoustical treatment and specialized equipment, it can be difficult to achieve professional-quality sound.
- Distractions: Recording at home can be prone to distractions such as outside noise, family members, and pets. This can make it difficult to achieve a quiet and focused recording environment.
- Limited Space: Depending on the size of your home, setting up a home recording studio may be limited by space restrictions.
Ultimately, the decision to set up a home recording studio will depend on your specific needs and preferences. While it offers flexibility and control, there are limitations to achieving high-quality sound in a home environment.
The Most Important Part of a Home Studio
When setting up a home recording studio, there are several elements to consider to achieve professional-quality sound. Here are the most important components to focus on:
- Acoustical Treatment: Proper acoustical treatment is essential to achieving professional-quality sound in a home recording studio. By minimizing reflections and reverberation in the room, you can capture clear and accurate recordings.
- Microphone Selection: Choosing the right microphone for your needs is crucial to achieving professional-quality sound. Different microphones are designed for different purposes, such as voice-overs, singing, or instruments.
- Recording Software: Recording software is the backbone of your home recording studio. Choose a software that is capable of handling your recording needs and has the necessary features for mixing and editing.
- Monitoring: Proper monitoring is crucial to achieving professional-quality sound. This includes using quality headphones or studio monitors that accurately reproduce the sound of your recordings.
Common mistakes to avoid when setting up your home recording studio include not properly acoustically treating your space, choosing the wrong microphone for your needs, and not investing in quality monitoring equipment.
By focusing on these essential components and avoiding common mistakes, you can set up a home recording studio that is capable of producing professional-quality sound.
What Room Is Best for Home Recording?
Choosing the right room for your home recording studio is crucial to achieving professional-quality sound. Here are some tips for finding the best room in your home:
- Avoid Square Rooms: Square rooms can create standing waves, resulting in uneven acoustics. Choose a room with an irregular shape or one that is long and narrow.
- Consider Room Size: Larger rooms can provide more natural reverb, but smaller rooms can be easier to acoustically treat. Choose a room that is large enough to accommodate your recording needs but small enough to be acoustically treated.
- Soundproofing: Soundproofing is essential to preventing outside noise from interfering with your recordings. Choose a room with thick walls and consider adding additional soundproofing materials such as acoustic curtains or door seals.
- Lighting: Good lighting is essential for creating a comfortable and productive recording environment. Choose a room with natural light or invest in quality lighting equipment.
- Acoustical Treatment: Proper acoustical treatment is crucial to achieving professional-quality sound in your home recording studio. Consider adding acoustic panels, foam, or blankets to minimize reflections and reverberation in the room.
By taking these factors into consideration, you can find the best room in your home for your recording needs.
Conclusion
In conclusion, the benefits of having a high-quality recording space for voice-overs cannot be overstated. Setting up a home recording studio has become increasingly popular in recent years due to advances in technology and the availability of affordable equipment. By following the tips and guidelines outlined in this article, you can set up a home recording studio that is capable of producing professional-quality sound.
The most essential equipment needed for a basic home recording studio includes a computer, audio interface, microphone, headphones, recording software, studio monitors, cables, mic stands, pop filter, and acoustic treatment. By investing in these key components, you can capture clear and accurate recordings in the comfort of your own home.
When setting up a small recording studio at home, choosing the right room and acoustically treating it are crucial for achieving professional-quality sound. Avoid square rooms and consider room size, soundproofing, lighting, and acoustical treatment to create a comfortable and productive recording environment.
There is a common misconception that home recording studios cannot produce professional-quality recordings. However, advances in technology and good recording practices have made it possible to achieve high-quality sound at home. While there are advantages to recording at a commercial studio, such as access to specialized equipment and sound engineers, setting up a home recording studio can be a cost-effective alternative that provides greater flexibility and control over the recording process.
While setting up a home recording studio can be an investment, there are ways to save money without sacrificing quality. By being strategic with your equipment purchases and acoustical treatment, you can set up a home recording studio that is both affordable and capable of producing high-quality recordings.
In conclusion, we encourage readers to take action and start setting up their own home recording studio. With the right equipment and setup, you can achieve professional-quality sound and take control of your recording process. Remember to experiment and try new things to find the setup that works best for you.


